

TL;DR
There is a native, server-based SharePoint integration included Dynamics 365 Customer Engagement. When it is set up, users can access documents from a Dynamics 365 record while storing the actual files in SharePoint instead of Dataverse.
For a typical Dynamics 365 and SharePoint Online environment, the setup has five main steps:
- Enable server-based SharePoint integration
- Connect your SharePoint site
- Enable document management for the required Dynamics 365 tables
- Choose the SharePoint folder structure
- Test the integration from both Dynamics 365 and SharePoint
The setup itself is relatively straightforward. The part that requires more thought is security.
Dynamics 365 and SharePoint have separate permission models. Native integration does not automatically make SharePoint document permissions follow Dynamics 365 record access. If document access should follow the corresponding Dynamics 365 record, you need to address that separately.
Article first published in Aug 2020 and last updated in Sep 2026.
What Does The Dynamics 365 SharePoint Integration Actually Do?
The native integration connects Dynamics 365 Customer Engagement apps, such as Sales and Customer Service, with SharePoint document management.
Users can open the Documents area of an Account, Contact, Opportunity, Case, or other enabled table and work with documents associated with that record. The files themselves are stored in SharePoint, where you can use SharePoint capabilities such as version history, collaboration, and document metadata.
This creates a simple division of responsibilities:
- Dynamics 365: the business record and its relationship to the document location
- SharePoint: the document itself and SharePoint document-management features
One important exception is attachments. Notes and email attachments already stored in Dataverse do not automatically move to SharePoint just because you enable the integration. Migrating those requires a separate process or solution.
Before You Start The Setup
A few decisions are worth making before opening the setup wizard.
Check The Prerequisites
For SharePoint Online, your Dynamics 365 environment and SharePoint site must be in the same Microsoft 365 tenant. Microsoft validates this when you configure the SharePoint site.
You will also need the appropriate administrative permissions in Dynamics 365 and SharePoint. Microsoft currently documents System Administrator or equivalent permissions for configuring document management and Global Administrator permissions for enabling SharePoint integration.
The SharePoint site you want to use should already exist.
Decide Which Dynamics 365 Tables Need Documents
Do not enable document management everywhere simply because you can.
Typical candidates include:
- Accounts
- Contacts
- Opportunities
- Cases
- Quotes
- Projects or custom tables
Starting with the tables that actually need documents makes the resulting SharePoint structure easier to understand and govern.
Decide How Sensitive The Documents Are
Ask one question before you design the SharePoint structure:
If someone loses access to a Dynamics 365 record, should they also lose access to its documents?
If the answer is yes, permissions cannot be an afterthought. We will return to this after the setup.
Dynamics 365 Integration With SharePoint - A Step-By-Step Tutorial
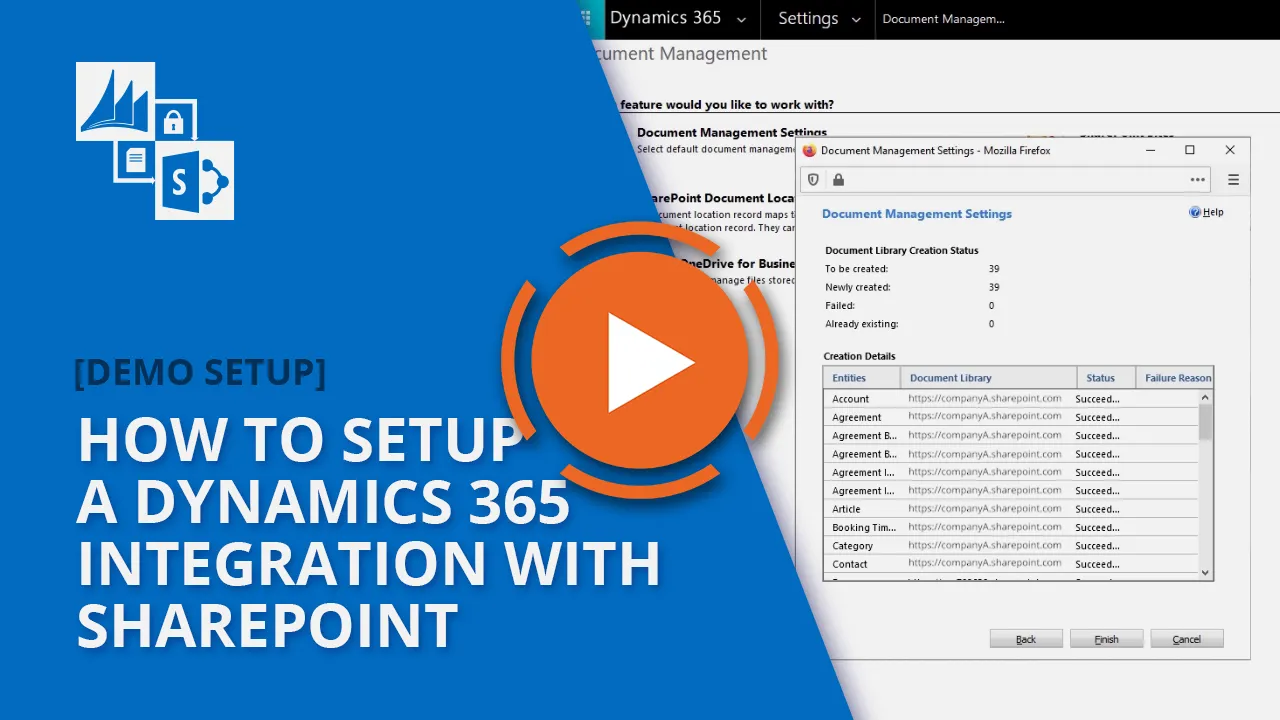 (opens in a new tab)
Step 1: Enable Server-Based SharePoint Integration
The clearest current route is through the Power Platform admin center.
Go to:
Manage → Environments
(select your environment)
Settings → Integration → Document management settings
Select Enable server-based SharePoint integration.
The wizard will open and guide you through enabling the connection. Microsoft's current documentation uses this Power Platform admin center route.
Server-based integration is Microsoft's current approach to SharePoint document management for Dynamics 365 and Dataverse model-driven apps.
Step 2: Connect the SharePoint Site
The wizard asks where your SharePoint sites are located.
For a standard Microsoft 365 deployment, select Online.
Enter the URL of the SharePoint site you want Dynamics 365 to use, for example:
https://yourtenant.sharepoint.com/sites/yoursite
Dynamics 365 validates the URL. For SharePoint Online, it also verifies that the site belongs to the same Microsoft 365 tenant.
If validation fails, check the basics first:
- Is the URL correct?
- Does the site exist?
- Can the administrator access it?
- Is the SharePoint site in the correct tenant?
The integration can support multiple SharePoint sites, but keeping the initial design simple usually makes administration easier.
Step 3: Enable Document Management for the Required Tables
Once server-based integration is enabled, return to Document management settings.
Select the Dynamics 365 tables for which you want SharePoint document management.
For example:
- Account
- Contact
- Opportunity
- Case
- Lead
Microsoft allows you to enable document management for specific tables, so there is no need to enable everything from day one.
You can return later and add other tables if requirements change.
Step 4: Choose the SharePoint Folder Structure
Next, validate your SharePoint URL and choose how Dynamics 365 should organize the document locations.
The standard configuration gives you a choice between structuring document locations around a selected parent table, like Account or Contact, or using a flatter structure.
A structure based on Account might result in something conceptually similar to:
Accounts / Contoso / Contacts / John Smith
A Contact-based structure would organize the documents primarily around the Contact instead.
If you do not select a parent-table structure, record folders can instead sit alongside one another in a flatter arrangement.
Dynamics adds identifiers to folder names to make document locations unique. They may not look especially elegant when browsing SharePoint directly, but they prevent two Dynamics records with identical names from colliding.
Think about how users will find documents outside Dynamics 365 before choosing the structure. A design that looks acceptable with 50 Accounts may become awkward when there are 50,000.
Complete the wizard and let Dynamics 365 create the required SharePoint document locations.
Step 5: Test The Integration Properly
Do not stop when the wizard reports success.
Open a Dynamics 365 record for one of the tables you enabled and go to Documents.
Upload a test document.
Confirm that:
- the Documents area is available;
- the file uploads successfully;
- the document is stored in SharePoint;
- the expected SharePoint folder has been created.
Then go directly to SharePoint and find the same document. The CRM Software Blog setup walkthrough uses this as the basic verification procedure.
For a production environment, however, add one more test, test with representative users, not just administrators.
Use, for example:
- a record owner;
- a user with access through a team;
- a read-only user;
- a user who should not have access to the record.
Test access through both Dynamics 365 and a direct SharePoint link.
That second test is important because it exposes the biggest limitation of the native integration.
Beyond The Setup: Security And Permissions
Dynamics 365 and SharePoint permissions are separate
Dynamics 365 and SharePoint do not use one unified authorization model.
Dynamics 365 and Dataverse can determine record access using factors such as:
- security roles;
- business units;
- record ownership;
- owner and access teams;
- record sharing;
- hierarchy security.
SharePoint separately controls access to its sites, libraries, folders and documents.
Native integration does not automatically synchronize these two security models. This is also the issue raised by Dynamics administrators in the Microsoft community: a user can potentially reach a document through SharePoint even though that user's Dynamics 365 permissions no longer allow access to the associated record.
For example, suppose an Account changes owner and a salesperson loses access to it in Dynamics 365.
If that salesperson still has SharePoint permission to the corresponding document location, changing the Dynamics 365 ownership does not by itself remove the SharePoint access.
The opposite problem is possible too. A user may have permission to the Dynamics 365 record but receive an access error when opening its documents because SharePoint does not grant the necessary access.
This does not mean that Microsoft's integration is malfunctioning. It means the two platforms remain separate authorization systems.
Can Power Automate align Dynamics 365 and SharePoint Permissions?
For a simple and stable security requirement, custom automation can be a reasonable approach.
For example, you might create a rule that grants an Opportunity owner access to the corresponding SharePoint folder and also grants access to a predefined sales group.
The difficulty appears when you try to reproduce effective Dynamics 365 access, rather than one simple rule.
Your automation may need to account for:
- ownership changes;
- team membership;
- records being shared and unshared;
- security-role changes;
- business-unit changes;
- permission removal as well as permission grants.
A custom implementation also needs failure handling, monitoring and reconciliation. If an automation succeeds when granting access but fails later when that access should be revoked, the user can retain document access longer than intended.
This is why custom Power Automate flows can work well for deliberately simple permission models but become considerably harder to maintain when SharePoint access is expected to continuously mirror Dynamics 365 security.
For environments where that alignment is a requirement, CB Dynamics 365 to SharePoint Permissions Replicator is designed to replicate the relevant Dynamics 365 access changes to the related SharePoint document locations.
 (opens in a new tab)
Another architectural consideration is how many folders receive their own permissions.
One approach is to create a separate folder for each Dynamics 365 record and assign unique permissions to that folder. Technically, that can work. At scale, however, it deserves planning.
SharePoint Online supports up to 50,000 unique permission scopes per list or library, and Microsoft recommends keeping the number below 5,000 for best performance.
If you expect many thousands of Dynamics records, avoid assuming that one uniquely secured folder per record will scale indefinitely within a single library.
Where possible:
- use inherited permissions;
- use groups for stable sets of users;
- separate content into libraries or sites where that makes architectural sense;
- estimate the number of uniquely secured locations before going live.
If you need a more structured SharePoint hierarchy than Microsoft's standard Dynamics 365 document-location structure provides, a provisioning approach such as SharePoint Structure Creator can create the required folders and libraries consistently.
Folder structure and permissions are related design decisions, but they solve different problems. Creating a better hierarchy does not by itself align SharePoint permissions with Dynamics 365.
Go-Live Checklist
Before releasing the integration to users, confirm that:
- the connected SharePoint site and document library are appropriate for the sensitivity and collaboration requirements of the Dynamics 365 documents;
- the folder structure has stakeholder approval and has been validated for the expected number of Accounts, Contacts, and documents;
- representative users have been tested;
- direct SharePoint access has been tested as well as Dynamics 365 access;
- retention, external sharing and other SharePoint governance requirements have been considered;
- you have decided whether SharePoint document access must follow Dynamics 365 record access;
- if permission alignment is required, both granting and removing access have been tested;
- someone owns monitoring and troubleshooting after go-live.

About the Author

By Ana Neto, technical advisor at Connecting Software.
“I have been a software engineer since 1997, with a more recent love for writing and public speaking. Do you have any questions or comments about this article? I would love to have your feedback, leave a comment below!"